This post is sponsored by Sivan Social. All comments and opinions are my own.

Now that school is in session and I am back in the classroom this year, meal planning has become a very important part of my life each week. I love to plan my meals on the weekends so I know exactly what we are having for dinner each night. Not only does meal planning help with time-management, but it also helps me with my budget. I especially love shopping at Publix to help me navigate these areas of my life, because they always offer such fantastic promotional offers.
Publix is currently offering new, exclusive coupons as part of their Family Celebrations Promotion. There are over $44 in coupons online at GetTheSavings.com/FamilyCelebrations for you to to scan, print and redeem, or you can find the Family Celebrations Booklet at your local Florida Publix store. You will need to hurry though as these offers are only valid through 9/26!
As someone who loves to save money wherever I can, I appreciate that the coupons from the Family Celebrations booklet are for grocery items that I use on a weekly basis. A few dollars here and there stacks up to some really sweet savings in my grocery budget each week!
Grocery Items for the Family Celebrations Promotion:
- $1.50/1 Café Bustelo Espresso Ground Coffee 10 oz can
- $1/1 Kellogg’s Corn Flakes 24 oz or Frosted Flakes 24 oz
- $1/1 Kellogg’s Eggo Waffles 10.7–12.3 oz
- $1/1 Garden Fresh Gourmet Salsa 16 oz
- $1.25/1 Lantana Hummus Item 10 oz
- $0.50/1 Ortega Taco Sauce 8 oz (excludes Street Taco Sauces)
- $1/1 Pop Tart Bites, Pop Tarts Crisps or Kellogg’s Rice Krispies Treats Poppers
- $1/1 Rizo Bros California Creamery Queso Cheese 8 oz
- $1.50/1 Smithfield Pork Tenderloin or Filet Item
- $0.50/1 Thomas’ English Muffins
- $1/1 Wesson Vegetable, Canola, Best Blend or Corn Oil 48 oz
- $1/4 BodyArmor SportWater 1L
- $1/4 BodyArmor Sports Drink 16 oz
- $1/4 BodyArmor Sports Drink 28 oz
- $0.40/1 Rico Jasmine, Medium or Long Grain Rice, 2-3 lb
- $1/2 Frontera Salsa 16 oz or Skillet Sauce 8 oz
- $0.75/1 La Lechera Dulce de Leche or Sweetened Condensed Milk 13.4-14 oz
- $2/1 Nesquik Powder 30-35.5 oz
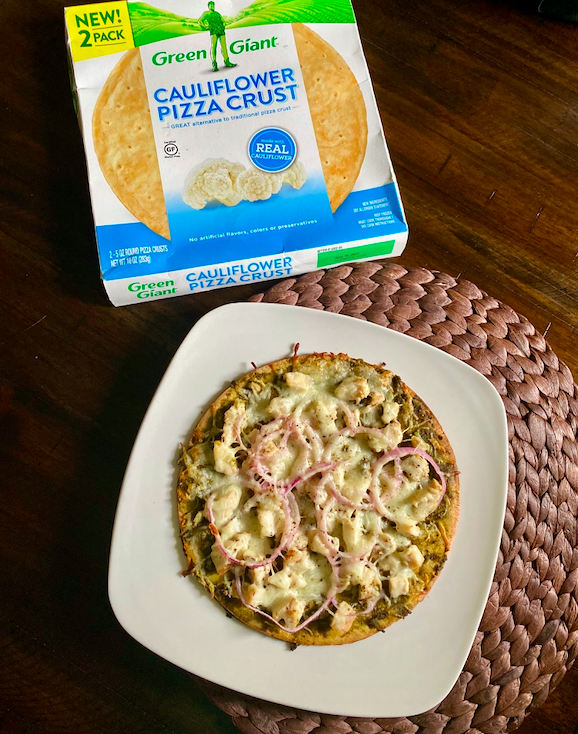
- $0.50/1 Green Giant Four Cheese Pizza 9.6 oz or Cauliflower Pizza Crust 2 pk
- $1/1 Apple & Eve Organic Juice 64 oz
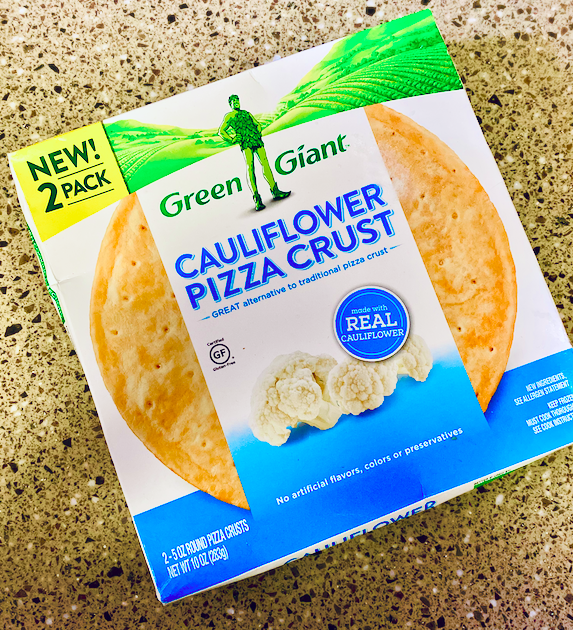
Our family loves to have pizza night each week, so I was thrilled to see the coupon for $0.50/1 Green Giant Four Cheese Pizza 9.6 oz or Cauliflower Pizza Crust 2 pk. Have you tried these yet? The Cauliflower Pizza Crusts are absoluetely delcious, and I love that they are made with simple ingredients like real Cauliflower and have no artificial flavors, colors or preservatives. The Green Giant Cauliflower Pizza Crust 2 packs are perfect for a quick and delicious dinner and for bringing the family together around the table during the hustle and bustle of a busy week.
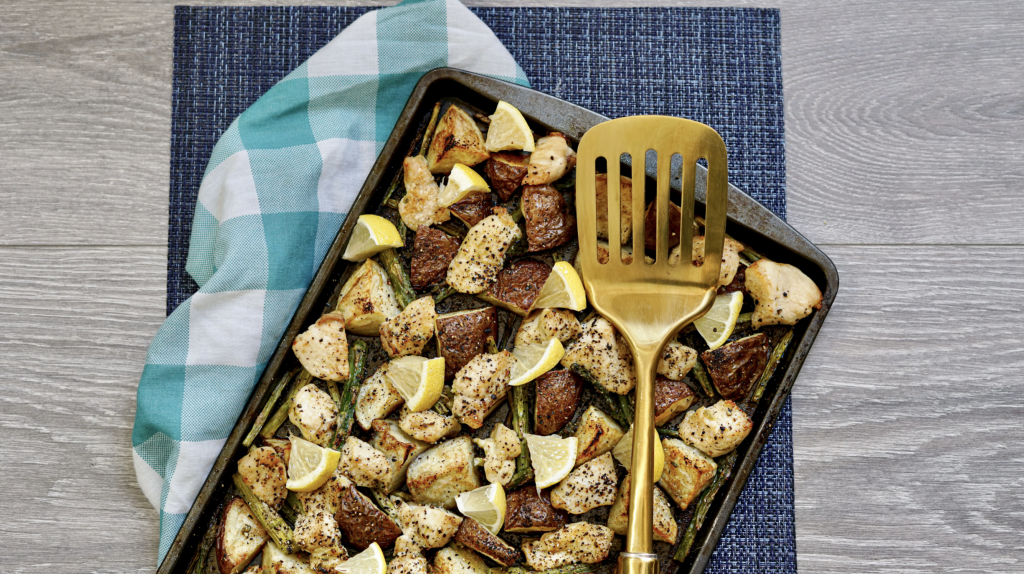
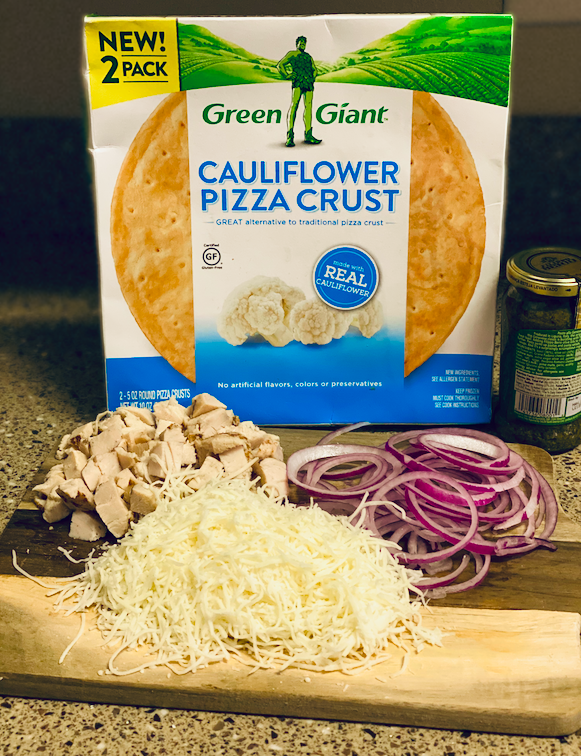
One of my favorite pizzas to make with these crusts is a Chicken Pesto Pizza. With the savings that we can score right now at Publix, I am stocking up my freezer on these delicious crusts! These are a great way to get dinner on the table in no time!

Chicken Pesto Pizza
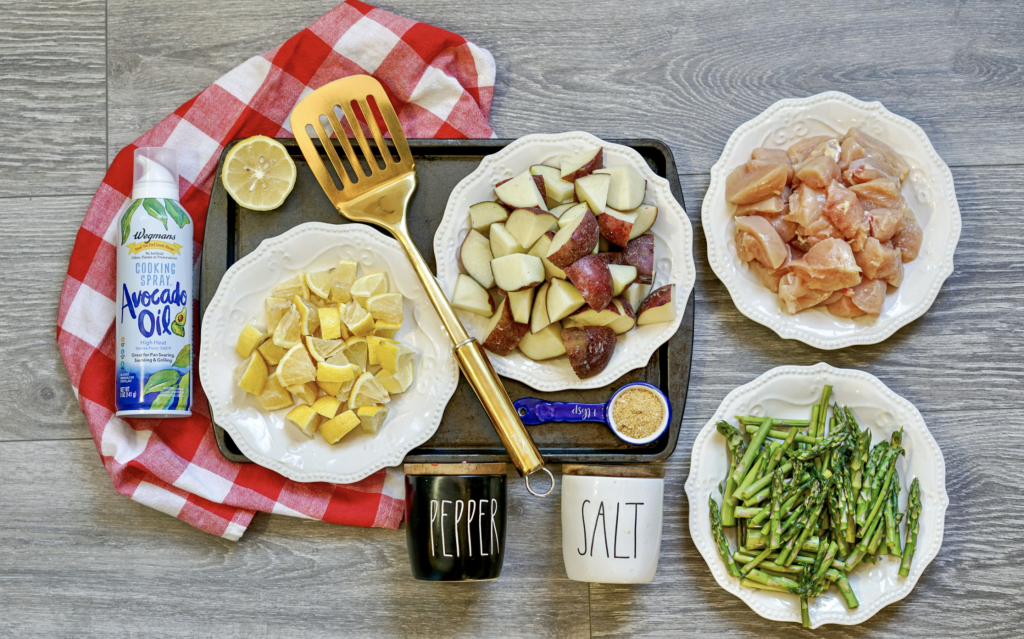
Ingredients:
2 count pack of Green Giant Cauliflower Pizza Crust
3 tablespoons of your favorite Pesto Sauce
2 cups shredded mozarella cheese
2 cups cooked chicken cubes (you can also use cubed rotisserie chicken)
1/2 red onion thinly sliced
Directions:
Preheat oven to 425 degrees
Place the Green Giant Cauliflower Crusts on a sheet pan and bake for 8-10 minutes
Remove from the oven and let cool for a few minutes
Top each Cauliflower Crust with 1 1/2 tablespoon of Pesto
Place 1 cup of cubed chicken and 1 cup of shredded mozarella cheese on top of each pizza
Place equal amounts of red onion on each pizza
Bake at 425 for another 8-10 minutes or until the crust is nice and crispy and toppings are melted and bubbly.
Serve and enjoy! Let me know if you try this delicious and easy recipe!