Posts tagged with "desserts"

Patriotic Cookie Cake

(All posts may contain affiliate links or sponsored content. Please see my disclosure policy)

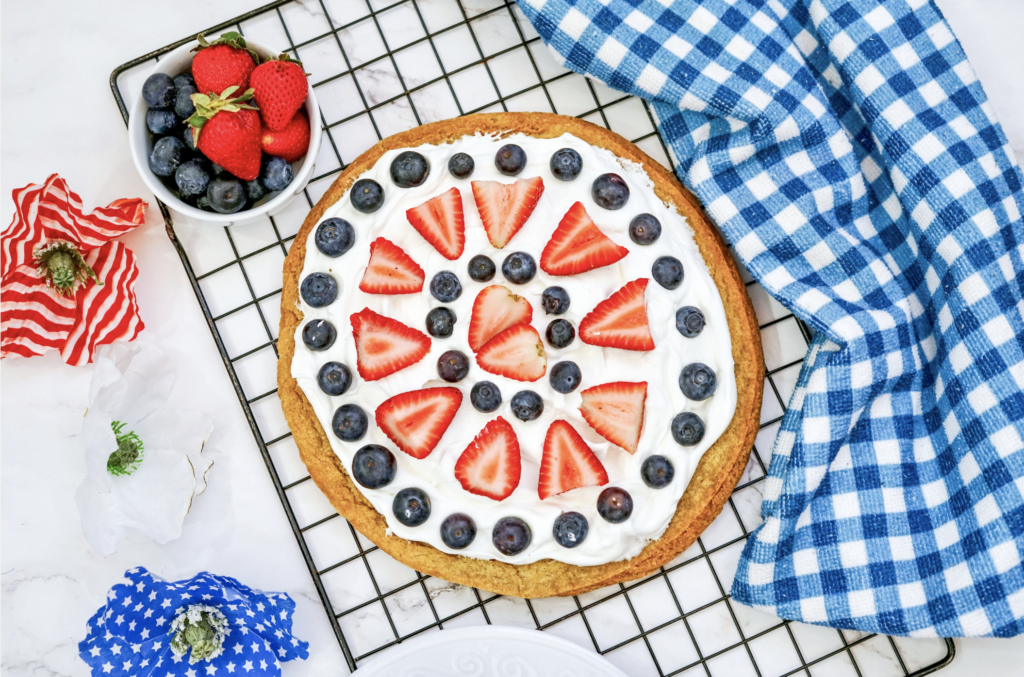
Are you planning a barbecue or get-together for the 4th of July? This Patriotic Cookie Cake couldn’t be easier to prepare, and is so delicious! You are sure to wow your guests with this fun dessert!

Patriotic Cookie Cake

Ingredients 

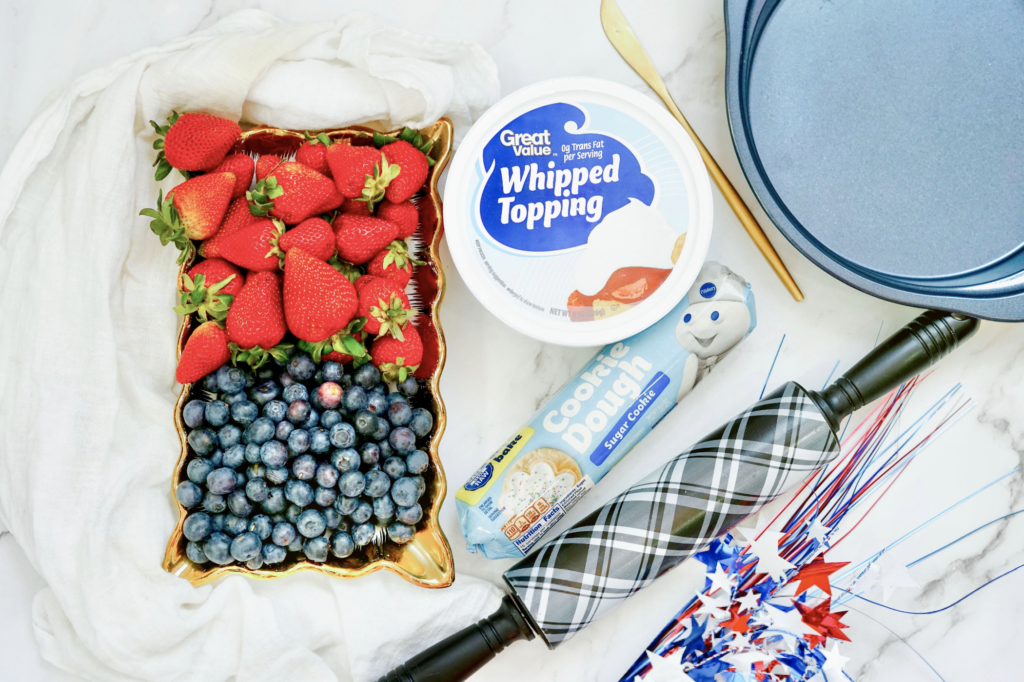
  • 16.5oz Sugar Cookie Dough
  • 8oz Whipped Topping 
  • 1lb Strawberries 
  • 1 Pint Blueberries 

Instructions

  1. Pre-heat oven to 350 degrees.
  2. Using a non-stick round pan, lay out the sugar cookie dough.
  3. Bake the cookie as directed on the packaging.
  4. Remove from oven and transfer to a cooling rack.
  5. Let the cookie cool before smothering in whipped topping.
  6. Slice the strawberries in half and create a red and blue design on top of the cookie using the strawberries & blueberries. 
  7. Enjoy!

Pumpkin Patch Brownies

(All posts may contain affiliate links or sponsored content. Please see my disclosure policy)

If you are looking for an easy yet delicious fall dessert to bring for Thanksgiving Dinner or an upcoming potluck, these Pumpkin Patch Brownies couldn’t be easier! They are put together with pre-made brownies so anyone can do it!

Pumpkin Patch Brownies 

Ingredients:

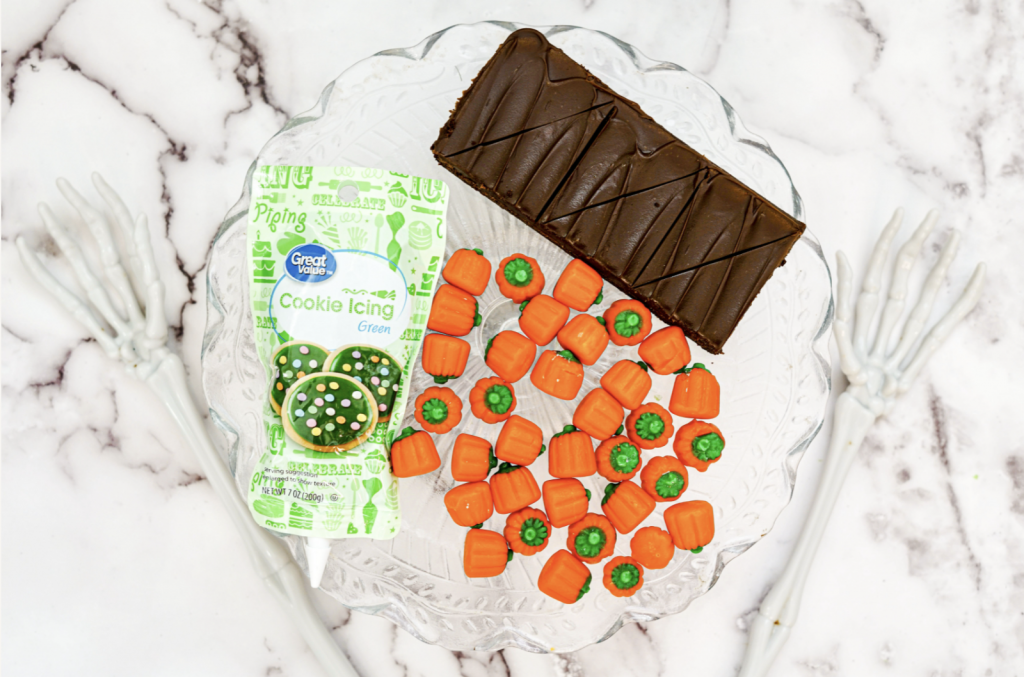
Pre-made brownies from the grocery store

Green Icing

Cany Pumpkins


Instructions:

  1. Take the green icing and swirl it around your brownie to create pumpkin vines.
  2. Place the candy pumpkins on the brownie using the green icing as a glue to create a pumpkin patch.
  3. Enjoy!


Oreo Thanksgiving Turkeys

(All posts may contain affiliate links or sponsored content. Please see my disclosure policy)

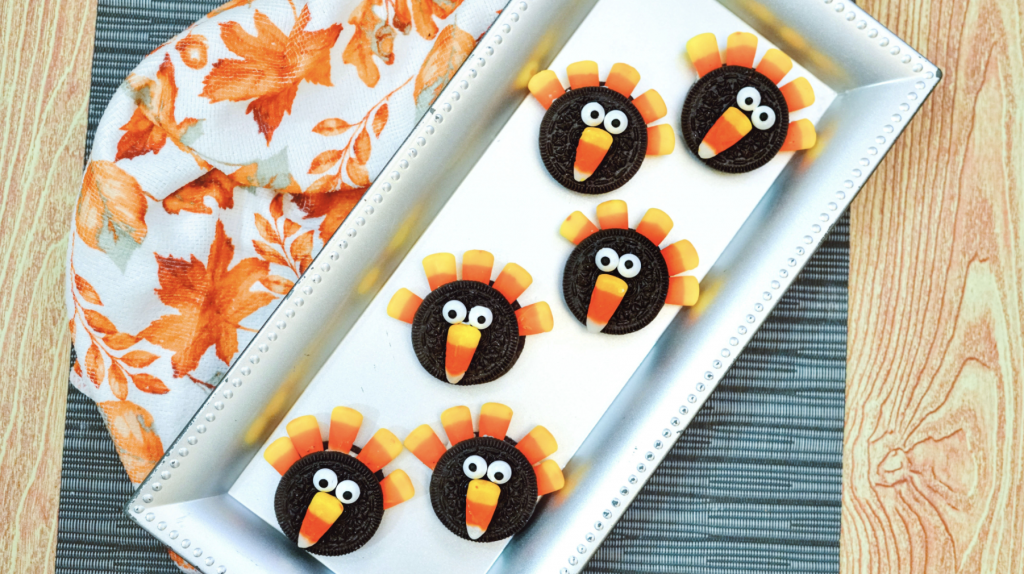
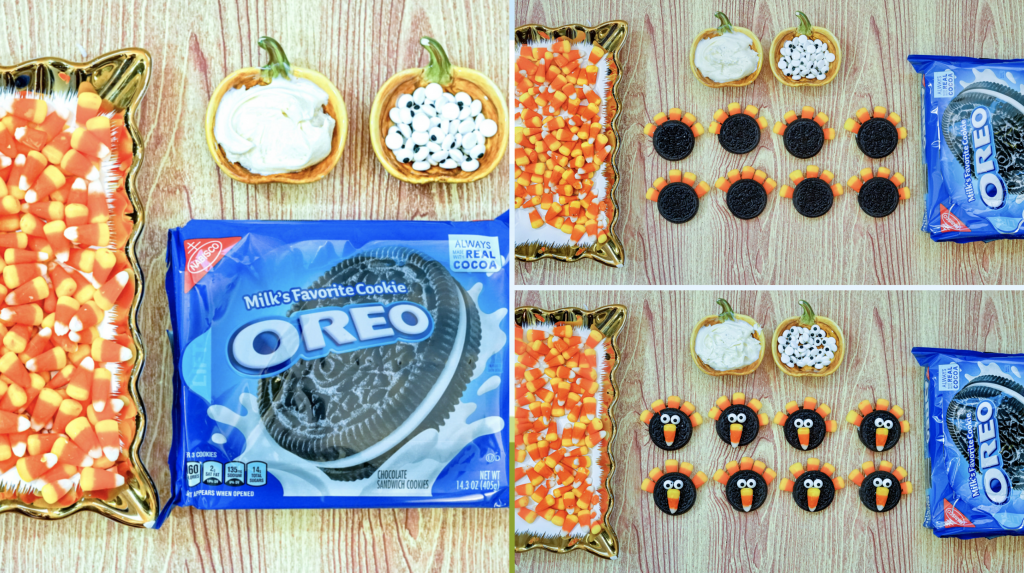
Are you looking for a fun and easy dessert idea to prepare for the kiddos this Thanksgiving? These Oreo Thanksgiving Turkeys are so cute and easy to prepare! You can even use the Gluten Free Chocolate Sandwich Cookies to make them Gluten Free!

Ingredients 

  • Oreo Cookies
  • Candy Corn
  • Candy Eyes
  • Frosting

Instructions

  1. Take an Oreo and carefully stick 5 candy corns in between the cookies. 
  2. Using frosting as glue, stick a candy corn on the Oreo as a nose.
  3. Place two candy eyes on the Oreo using frosting as glue.
  4. Serve & enjoy!


Easy Pound Cake Recipe

 (All posts may contain affiliate links or sponsored content. Please see my disclosure policy)

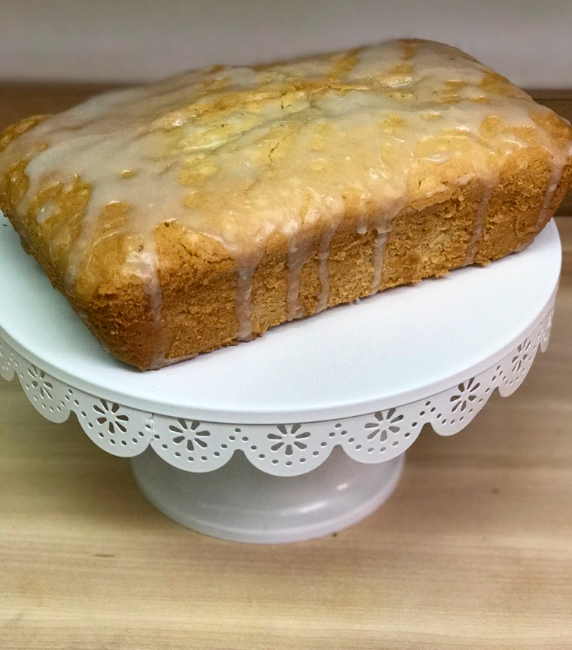
Are you a pound cake lover? This recipe is super versatile and you can do so much with it! Substitute the Vanilla Extract for Almond or another flavor to give it a special flavor! You can also top it with Strawberries or a yummy glaze. You will not be disappointed I promise!

Recipe adapted from Julie Blanner

Ingredients:

2 Sticks Softened Butter

1 1/2 Cups Sugar

3 Eggs

2 Cups Flour

3/4 Cup Milk

2 Tsp. Vanilla

Directions:

  1. Grease a 1 lb. bread pan and preheat oven to 300 degrees.
  2. In a mixing bowl, beat butter until it is light in color (around 3 minutes). Gradually incorporate sugar and beat until fluffy.
  3. Add eggs one at a time and blend on low.
  4. Alternate adding flour and milk, add vanilla until smooth.
  5. Pour into bread pan and bake for 1 hour 20 minutes. (It may take longer. I actually went for around 1 hour 30 minutes.)
  6. Allow to cool and top with glaze or fresh fruit.

Salted Caramel Pumpkin Crunch Bars with Miss Jones Baking Co. Vanilla Cake Mix

Disclosure: As a brand ambassador, I received products to facilitate this post. All thoughts and opinions are my own. Please see my disclosure policy)

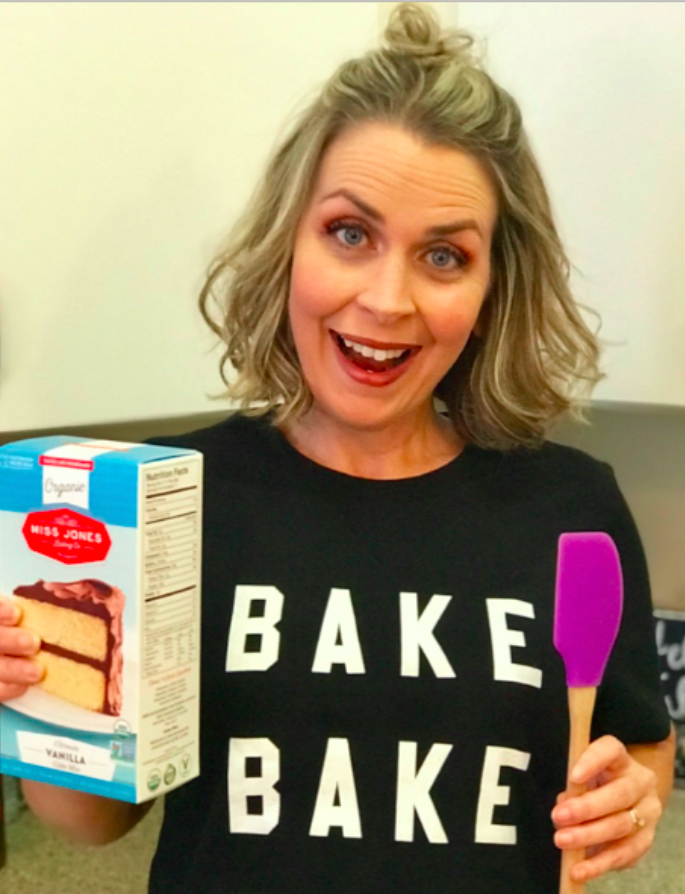
I am thrilled to once again be partnering with Miss Jones Baking Co.! You may remember from my previous post HERE, that I made yummy Chocolate Raspberry Brownie Cheesecake Trifles with their Fudgy Brownie Mix and Miss Jones Chocolate Frosting Made with Coconut Oil. 

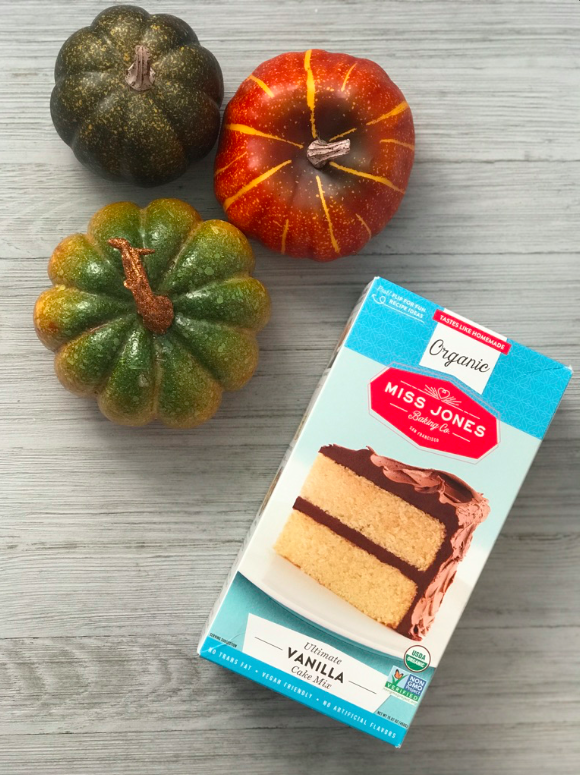
For today’s recipe, Salted Caramel Pumpkin Crunch Bars, I am using the Miss Jones Baking Co. Organic Vanilla Cake Mix. This is the mix that started it all! Miss Jones’ recipe for this moist, fluffy treat has the perfect hint of vanilla. It is simple yet delicious. I love how versatile this mix is too! Not only can you use it for cakes, but for cookies and bars like I did today. 

I don’t know about you, but when fall arrives that means one thing. Pumpkin everything! I am a huge pumpkin fan so I knew that I wanted to create a dessert with Miss Jones Baking Co. Organic Vanilla Cake Mix that incorporated my love of pumpkins and fall. I think that this recipe is a winner! My guys could not stop raving about how delicious that these bars are! I hope that you will enjoy them too!

Salted Caramel Pumpkin Crunch Bars

Ingredients:

1 box Miss Jones Baking Co. Organic Vanilla Cake Mix

3 eggs

3/4 cup melted butter

1 12oz. can evaporated milk

1 15oz. can pumpkin (not pumpkin pie filling)

1 cup sugar

1 cup chopped pecans

2 tsp. cinnamon

1 tsp. pumpkin pie spice

Himalayan Salt Grinder

Caramel sauce

Directions:

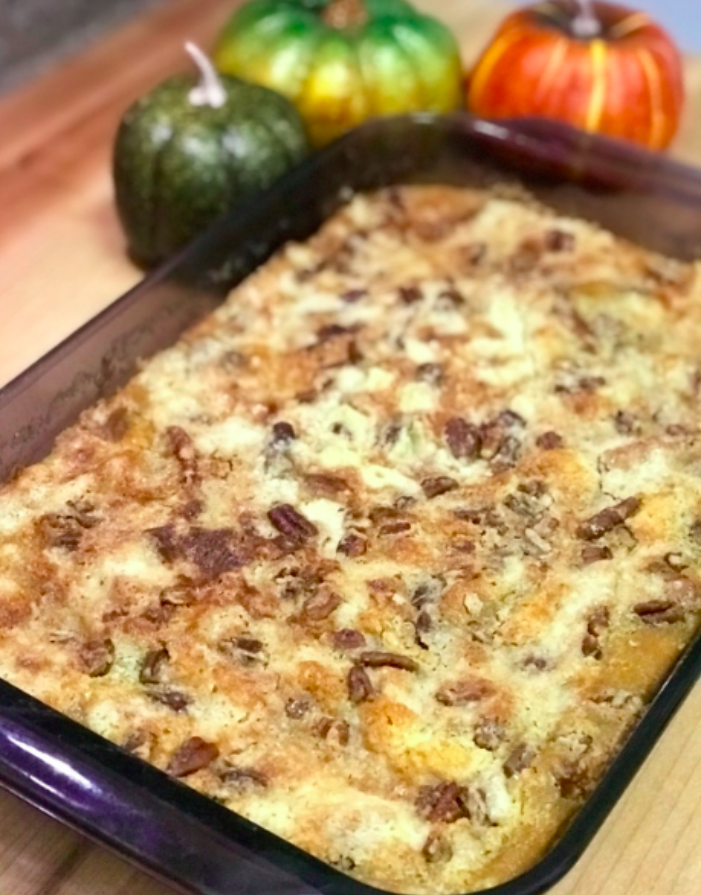
Preheat oven to 350 degrees and grease a 9×13 baking dish. In a bowl, mix eggs, pumpkin, sugar, evaporated milk and cinnamon. Pour mixture into the greased baking dish.

Sprinkle the dry Miss Jones Baking Co. vanilla cake mix on top of of the pumpkin mixture. Sprinkle with pecans then drizzle with melted butter.

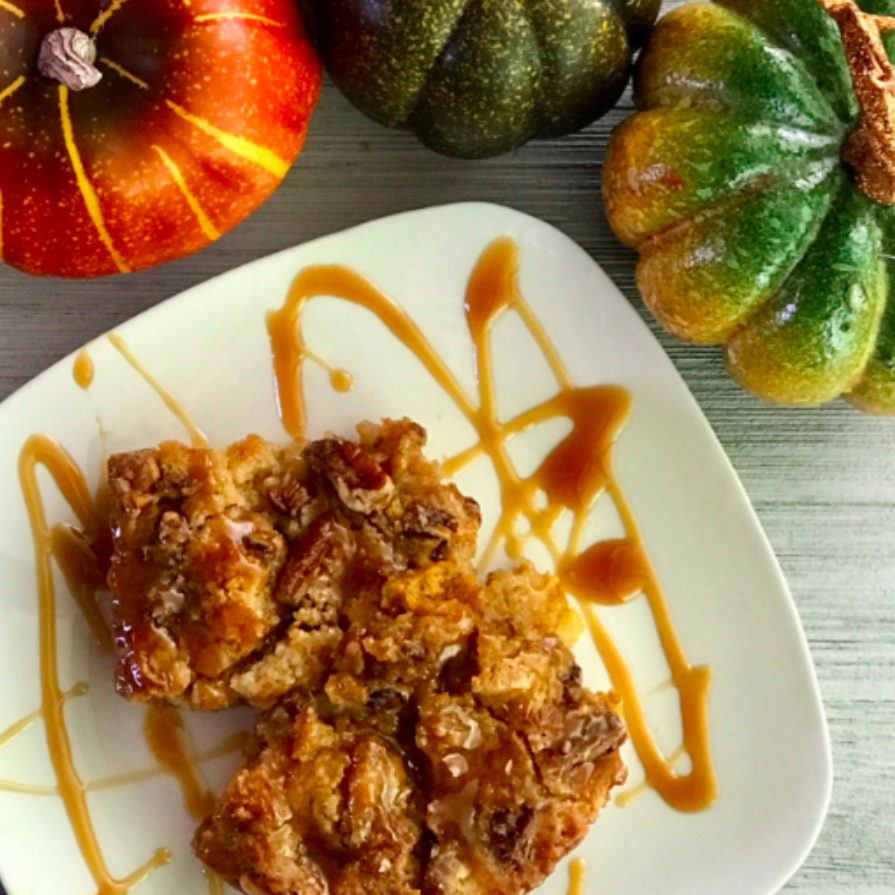
Bake at 350 degrees for 50 minutes or until the middle is set. Let set for at least 30 minutes. Drizzle with caramel sauce then grind Himalayan Sea Salt on top of bars before serving. You could even serve with ice cream or whipped cream.

Enjoy! These bars are salty, sweet and oh-so delicious! They are definitely fall in every bite!

***********************

Did you know that Publix carries a full lineup of Miss Jones Baking Co. products? You can also find their products on Amazon and other retailers. Check out their website HERE for a delicious lineup of products and location finder.

Be sure to follow Miss Jones Baking Co. on Instagram, FacebookTwitter and Pinterest

Peaches and Cream Pretzel Dessert

 (All posts may contain affiliate links or sponsored content. Please see my disclosure policy)

Do you remember that delicious Strawberry Salad Dessert that used to be so popular back in the day? To this day I love that dish so much! I decided to take my own spin on it and create something using Peaches instead. I am in love with peaches during the Summertime and this Peaches & Cream Pretzel Dessert did not disappoint! I also used Gluten Free pretzels to make the dish Gluten Free. The real beauty of this dessert is the fact that it is so versatile and you can change up the fruit to use whatever sounds good! I am going to try Blackberries next as that would be delicious too!

*If you love this recipe don’t forget to Pin it HERE.

Ingredients:

2 cups crushed pretzels (I used Gluten Free but you can use regular as well)

3/4 cup butter, melted

3 tablespoons white sugar

1 (8 ounce) package cream cheese, softened

1 cup white sugar

1 (8 ounce) tub of Cool Whip

2 (3-ounce boxes) of Peach flavored JELL-O

2 cups of boiling water

2 (10 ounce) bags of frozen peaches

Directions:

Mix together the melted butter, crushed pretzels and 3 tablespoons of sugar.

Press the mixture into the bottom of a 9×13 pan.

Bake for 8-10 minutes just until browned and set aside to cool.

In the meantime, beat together the cream cheese and sugar. Fold in the Cool Whip.

Spread the mixture out across the cooled Pretzel crust.

Dissolve Gelatin in the Boiling water. Stir in the Frozen Peaches and let them set very briefly. Continue to stir until mixture is about the consistency of egg whites. Take mixture and spoon over the top of the cream cheese layer. Place in refrigerator to let set. I would give it at least 3-4 hours to set up.

Enjoy! You could even add more Cool Whip on the top if you desire. Think about taking this to your next picnic or potluck! I guarantee that there will be none left!

(recipe inspired from AllRecipes.com)

Chocolate Peanut Butter Cheerios Chex Muddy Buddies Party Mix is the Ultimate Holiday Snack!

This is a sponsored conversation written by me on behalf of Chex™. The opinions and text are all mine. 
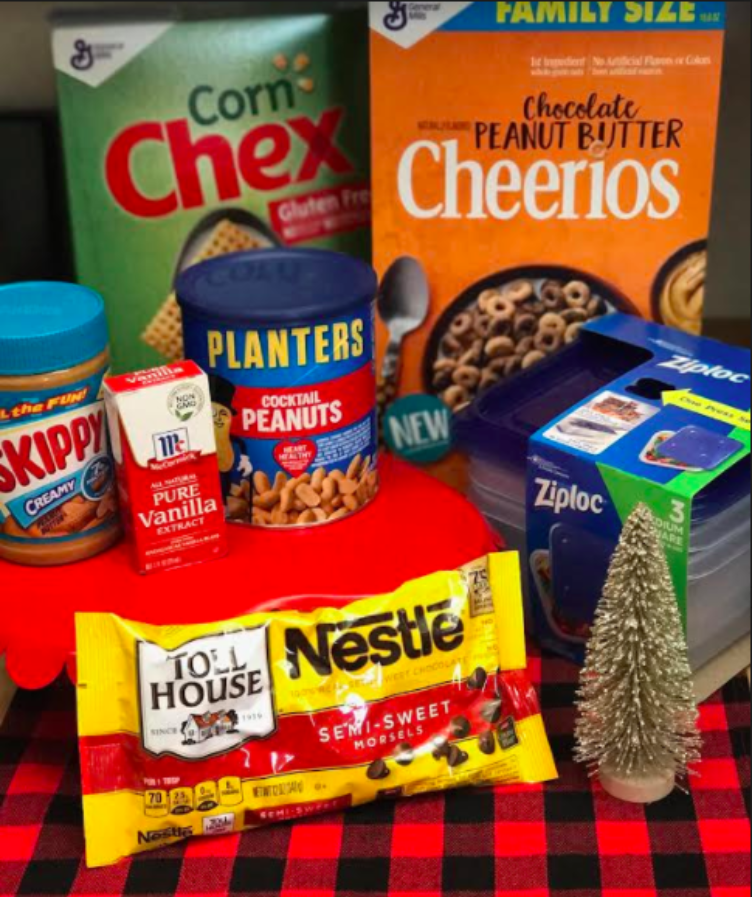
There’s something about the holiday season that puts me in the mood to make homemade gifts for my friends and family that are made right from my own kitchen! I also love this time of the year because it allows me to spend quality time with my boys while preparing these treats or hosting a fun holiday party. Chocolate Peanut Butter Cheerios™ Chex™ Muddy Buddies™ Party Mix, made with ingredients found at your local Publix store, is sure to be a hit with anyone on your gift list this holiday! This would also be the ultimate snack for any of your holiday parties or gatherings.

Have you ever made Muddy Buddies before? If not, you are totally missing out! This version of Muddy Buddies, the Chocolate Peanut Butter Cheerios Chex Muddy Buddies, is sure to be a new favorite! Powdered sugar mixed with Chocolate Peanut Butter Cheerios, Chex cereal, peanut butter cups, peanuts and chocolate chips makes this Muddy Buddies recipe a chocolate and peanut butter lover’s dream! 
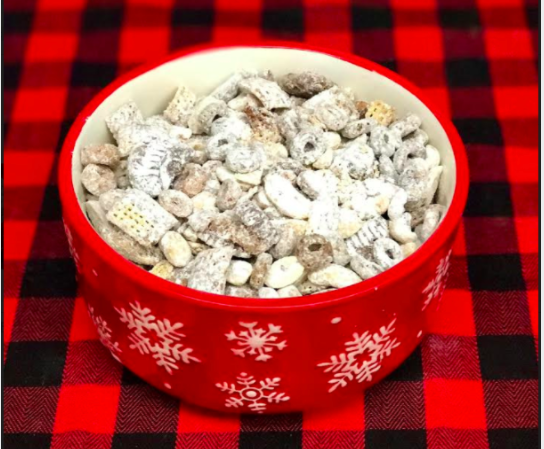
The recipe is very easy to prepare, and thanks to a printable coupon at www.getthesavings.com/chex, we can score one (1) FREE box of Chocolate and Peanut Butter Cheerios with the purchase of any three (3) Chex cereals. Stock up now so that you will be prepared to make this delicious treat all holiday season!

Ingredients:

9 cups Rice or Corn Chex Cereal

1 cup Nestlé® semisweet chocolate chips

½ cup Skippy® Creamy peanut butter

¼ cup butter

1 teaspoon McCormick® Pure Vanilla

1½ cups powdered sugar

3 cups Chocolate Peanut Butter Cheerios cereal

32 miniature peanut butter cups, unwrapped, cut in half

1 cup Planters® salted cocktail peanuts       

Ziploc® 2-4 count containers

Directions:

Place 9 cups of Rice or Corn Chex Cereal in a bowl

Melt the butter with the chocolate chips and peanut butter on high in the microwave for 1½ minutes until smooth, removing to stir every 30 seconds

Add the vanilla into the chocolate peanut butter mixture and stir. Place the chocolate peanut butter mixture over the Chex Cereal and stir until the cereal is coated

Place cereal mixture in a 2-gallon resealable Ziploc® bag

Add in the powdered sugar and shake in the bag until well coated

Add 3 cups of Chocolate Peanut Butter Cheerios, the halved peanut butter cups and the peanuts to the Ziploc bag

Seal bag and shake until well coated
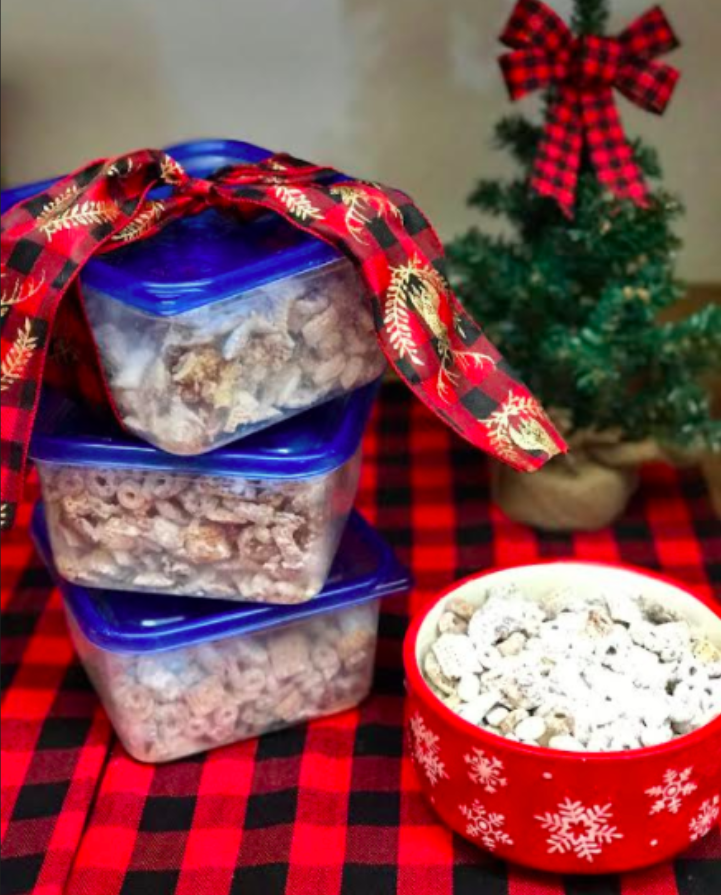
Place in a Ziploc container and enjoy! This is so delicious that you will not be able to eat just one helping! You can place a festive bow on the top of the Ziploc container for delicious gifts that anyone is sure to love this holiday!